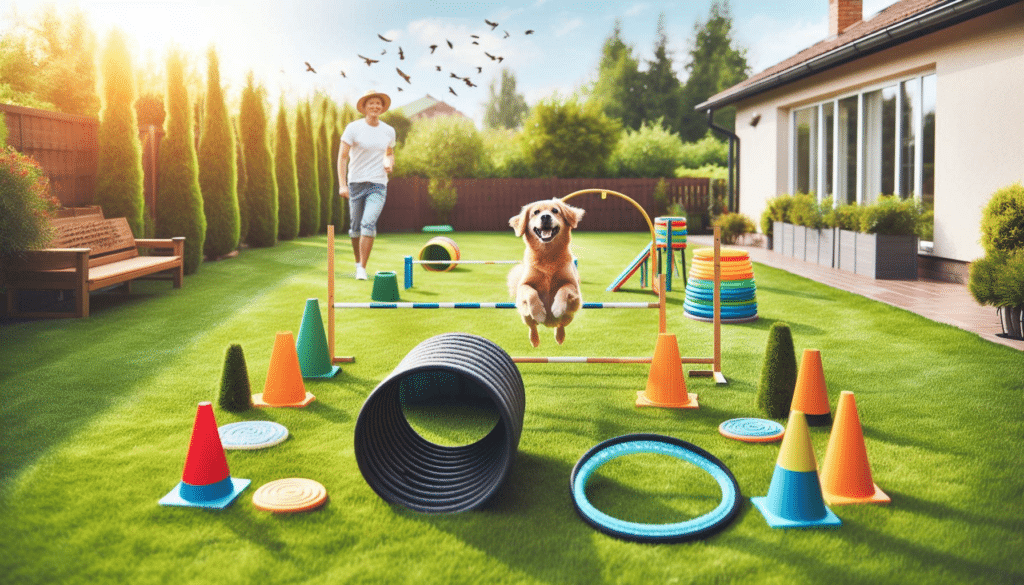
Transforming your backyard into an exhilarating playground for your pet is achievable and rewarding. A DIY agility course is an exemplary method to infuse backyard fun with utility, utilizing everyday items to construct a dynamic space for building and training at home. With simple resources and a sprinkle of creativity, dog owners can provide their canine companions with an engaging environment that promises hours of enjoyment and vital exercise.

Key Takeaways
- Maximize backyard space creatively for an enjoyable DIY agility course.
- Everyday items can be repurposed to build diverse agility obstacles.
- Training at home fosters a stronger bond between pet and owner.
- Customize the agility course to fit your dog’s unique abilities.
- Enhance your pet’s physical and mental well-being through fun exercises.
Getting Started: What You Need for a DIY Dog Agility Course
Embarking on creating a DIY dog agility course for your furry friend is an exciting project and an excellent way to enhance your dog’s physical and mental well-being. Before diving into the nuts and bolts of construction, it’s essential to lay a strong foundation, beginning with selecting a suitable backyard space, sourcing the right materials, and understanding your dog’s unique needs and abilities. A well-planned agility course ensures your dog can enjoy the excitement and challenge of the activity safely.
Choosing the Right Space in Your Backyard
Assessing your backyard space is the first step in establishing a DIY dog agility course. The area must offer sufficient room for your dog to maneuver around obstacles without restrictions. Considering the terrain, a flat, grassy area is advantageous for building agility setups. Proximity to trees and flowerbeds are additional factors when mapping out your course layout, as you’ll want to avoid areas that could potentially harm your dog or lead to unwanted digging.

Gathering Materials: PVC Pipes, Cones, and More
Next, gather the materials needed to construct the various elements of your course. PVC pipes are versatile and lightweight, ideal for crafting hurdles and weave poles. Cones can serve as markers for your dog to navigate around or as bases for jumps. Ensure all materials are safe and without sharp edges to prevent injuries. With some creativity and basic supplies, you can create various obstacles tailored to your course’s design.
Understanding Your Dog’s Needs and Abilities
Finally, considering your dog’s needs and abilities will ensure your DIY dog agility course is fun and appropriate for your pet’s size, age, and fitness level. Smaller breeds may require shorter jumps, whereas larger dogs might need more expansive spaces between obstacles to clear them comfortably. Assess your dog’s agility and adapt the complexity of the course accordingly, keeping in mind that the ultimate goal is to provide your pet with engaging and stimulating physical activity.
Building the Agility Tunnel: A Step-by-Step Guide
An agility tunnel offers a dynamic challenge for your dog, enhancing physical skill and mental sharpness. Crafting a DIY tunnel can be both a fun and rewarding project. Below is a comprehensive guide on constructing your agility tunnel using readily available materials and methods for teaching your dog to navigate the tunnel masterfully.
DIY Tunnel Using Play Tunnels or Laundry Baskets
Creating a DIY tunnel can be as simple as using children’s play tunnels or repurposing laundry baskets. A sturdy play tunnel provides an instant structure with minimal work, while laundry baskets can be aligned and covered with fabric to form a makeshift tunnel. The key is to ensure stability and safety for your dog while providing an exciting obstacle to conquer.
- Choose durable play tunnels or several sturdy laundry baskets.
- Secure baskets together and cover them with a durable fabric if laundry baskets are being used.
- Safeguard the entrance and exit to prevent collapse or shifting.
Teaching Your Dog to Navigate the Tunnel
Once your DIY tunnel is ready, the next step is teaching your dog to navigate the tunnel. Patience and positive reinforcement are critical elements during this training phase. You can entice your dog with treats or toys to encourage them to enter and exit the tunnel, gradually increasing its length as they become more comfortable with the obstacle.
- Start with a shortened tunnel for smooth navigation.
- Lure your dog through the tunnel using their favorite treats or toys.
- Gradually increase the difficulty as your dog becomes confident.
Adjusting Tunnel Length for Different Dog Sizes
Dogs come in various sizes, and the agility tunnel needs to accommodate them all. You’ll want to adjust tunnel length and diameter to ensure all dogs, from Dachshunds to Great Danes, can run through comfortably. A shorter tunnel is manageable for smaller dogs, while larger breeds require a more extended passageway to ensure enough space to navigate effectively.
| Dog Size | Suggested Tunnel Length | Suggested Tunnel Diameter |
| Small | 8 feet | 16 inches |
| Medium | 12 feet | 22 inches |
| Large | 15+ feet | 24+ inches |
With these steps, you’re on your way to crafting an engaging agility tunnel for your backyard course. Remember, introducing any new challenge should be a positive and fun experience for your pet. Celebrate each successful navigation of the tunnel with plenty of praise, solidifying the bond between you and your dog through this playful training.
Crafting Weave Poles with Household Items
An essential feature of every agility course is the set of weave poles. One can construct a fully functional agility station with creativity and some everyday household items. Let’s delve into how one can use PVC pipes or cones to create weave poles and the crucial aspects of spacing and aligning that contribute to a successful agility training session. This section offers agility training tips to teach the weave effectively.

Using PVC Pipe or Cones to Weave Poles
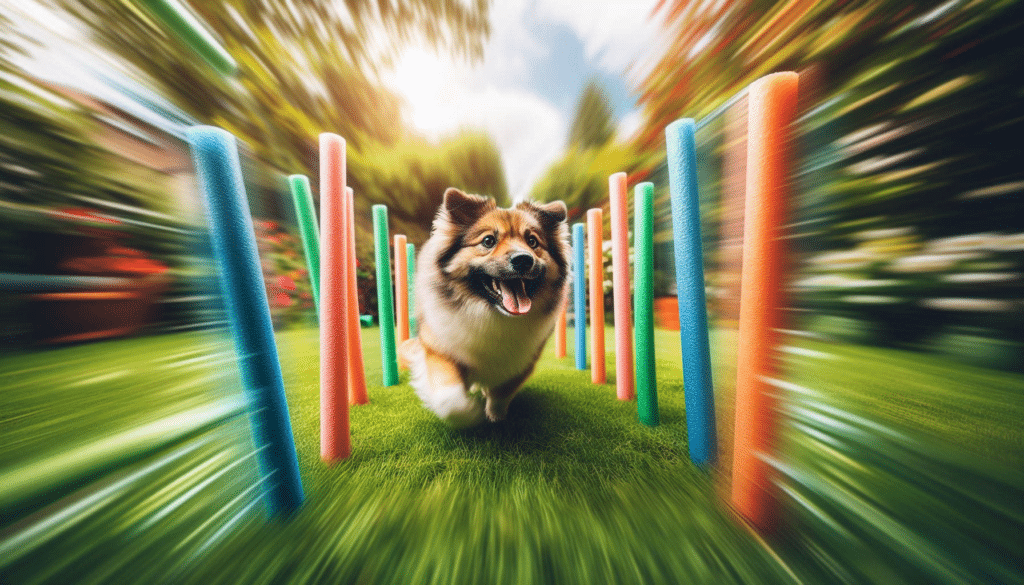
When constructing DIY weave poles, PVC pipe proves to be a durable and flexible option. Alternatively, cones can also serve as the base of your weave poles. Using cones, drill holes at the top to insert the poles. With these materials, one can set up a cost-efficient training space for their canine companion.
Spacing and Aligning Your DIY Weave Poles
Correct spacing and aligning of weave poles are crucial for a dog’s successful navigation and safety during agility training. The recommended space between poles is 24 inches, which may vary depending on your dog’s size and skill level. Consistent spacing allows your dog to develop muscle memory for seamless weaving.
Agility Training Tips: Teaching the Weave
Teaching the weave requires patience and a consistent training approach. Begin with guiding your dog slowly through the poles, rewarding them after each successful pass. As they gain confidence, they gradually increase their speed. It’s imperative to ensure a fun and positive learning experience to reinforce their agility skills.
| Item | Use in Weave Poles | Benefits |
| PVC Pipe | Main structure for poles | Durable and weather-resistant |
| Cones | Base for holding poles | Stable and easily visible |
| Spacing | Distance between poles | Encourages proper gait and rhythm |
| Alignment | Orientation of poles | Promotes straight weaving path |
Creating Hurdles and Jumps at Home
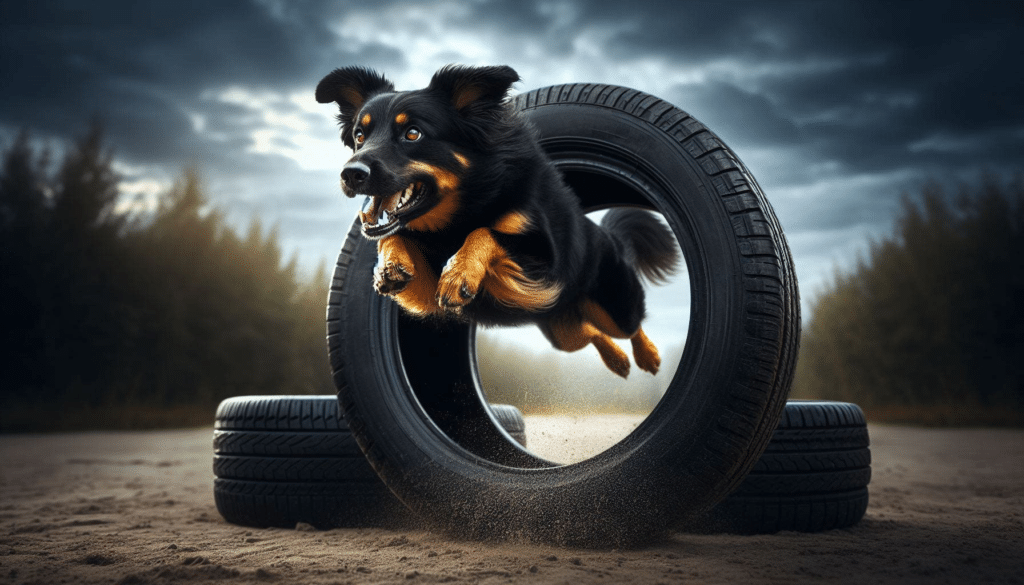
Home agility training offers a dynamic way to bond with your dog and enhance their physical skills. Integrating hurdles and jumps into your backyard setup can be fun and rewarding. These obstacles are pivotal in agility training, and creating them yourself—like a DIY tire jump—can be a satisfying project with long-term benefits for you and your furry companion.
Building a Tire Jump from Scratch
To build a tire jump, start with a sturdy frame and a safely secured, appropriately sized tire. The tire should hang at a height that suits your dog’s size and jumping capability, ensuring a fun but challenging agility training experience.
DIY Hurdles: Safe Heights and Widths for Your Breed
When constructing DIY hurdles, safe heights, and widths are crucial for the well-being of your dog. Depending on your breed’s size and physical ability, the dimensions of the hurdles will differ to prevent injury and build confidence.
Keeping Your Dog Motivated Through Agility Training
Maintaining dog motivation is key during agility training. Positive reinforcement and variety in your homemade course design can keep each session exciting and engaging for your pet. Celebrate their successes to foster eagerness and a love for the activity.
| Breed Size | Recommended Tire Jump Height | Recommended Hurdle Height | Recommended Hurdle Width |
| Small | 10 inches | 8-12 inches | 18-24 inches |
| Medium | 15 inches | 14-18 inches | 24-30 inches |
| Large | 20 inches | 20-24 inches | 30-36 inches |
Advanced Obstacles: Teeter-Totters and Dog Walks
Introduce your canine companion to the thrilling world of advanced obstacles within agility training. Starting with the dynamic teeter-totters, also known as seesaws, and progressing to the heights of dog walks, these structures test your dog’s confidence, balance, and coordination. Both obstacles provide rewarding challenges, inviting a sense of achievement with each successful navigation.
Constructing a Safe and Stable DIY Teeter-Totter
Building a DIY teeter-totter demands a focus on safety and stability. Utilizing heavyweight materials for the base and anti-slip surfaces for the plank ensures your dog can experience the fun of rocking without the risk of injury. In training your dog, gradual introduction and positive reinforcement pave the way for successfully mastering this classic agility challenge.
Creating a Mini Dog Walk Ramp
A mini dog walk ramp is an excellent starting point for dogs new to elevated obstacles. Creating this scaled-down version involves constructing three elevated platforms with sloping ramps for ascent and descent. The key is to ensure textured traction for secure footing and adjustable height to tailor the difficulty to your dog’s skill level.
Training Your Dog to Balance and Walk on Elevated Surfaces
Patience is your greatest ally when training your dog to balance and walk on elevated surfaces deftly. Introduce your dog to the ramp and teeter-totter incrementally, using treats and favorite toys as motivation. Initially focusing on balance, followed by encouraging complete traversal, equips your furry friend with the confidence and poise necessary for advanced agility courses.
| Obstacle | Materials Needed | Training Tip |
| DIY Teeter-Totter | Heavy plywood, anti-slip matting, fulcrum support | Start by allowing your dog to get used to the motion at the lowest height. |
| Mini Dog Walk Ramp | PVC pipes, rubber matting, wooden planks | Practice balancing on the ramp while static before moving to walking over it. |
Maintaining Your DIY Dog Agility Course
Ensuring your DIY dog agility course remains a safe and stimulating environment for your furry friend involves regular upkeep and innovation. Commitment to maintaining your course is crucial for the long-term enjoyment and development of your dog’s skills. Each aspect plays a vital role in the course’s efficacy, From regular checks for wear and tear to adjusting difficulty and adding new challenges. Proper storing equipment is also essential to its durability, saving you time and resources in the long run.
Regular Checks and Safety Tips for Equipment
Safety tips are paramount when conducting regular checks on your course. Inspect the integrity of obstacles for potential hazards, such as splinters on wooden parts or cracks in PVC pipes. Ensure all components are securely anchored and that moving parts function smoothly. This ensures your dog’s safety and instills confidence in their training.
Adjusting Difficulty and Adding New Challenges
Adjusting difficulty levels keeps the course challenging and engaging as your canine companion becomes more proficient. Introducing variations in obstacle heights, lengths, and configurations will test and improve their agility. Consider adding new challenges like balancing exercises or timed trials to push the boundaries of their abilities and prevent training plateau.
Storing Equipment to Prolong Its Life
Efficient storage solutions are vital to maintaining your course and storing equipment to prolong its usability. Keep obstacles from extreme weather conditions when not in use, and clean them regularly to prevent degradation. Disassembling larger pieces can save space and protect them from unnecessary exposure.
- Inspect equipment for any signs of damage or wear.
- Keep obstacle surfaces clean to ensure optimal performance and safety.
- Securely store all elements, especially fabric components, in a dry, shaded place to avoid mildew and fading.
In conclusion, thoughtful care and regular updates to your DIY dog agility course ensure it remains a source of joyful and beneficial activity for your pet. The course and your dog’s enjoyment can withstand time through routine inspections, fresh challenges, and judicious equipment storage.
Conclusion
In summary, constructing a DIY dog agility course with household items is an engaging project that blends fun and functionality to create an incredible source of backyard fun. This rewarding endeavor saves on costs and significantly enhances your dog’s physical and mental health. By designing tailored obstacles based on advice, owners can build and train at home, ensuring a supportive environment tailored to their canine companion’s strengths and growth.
The agility course encourages a unique bond between pets and their owners, fortifying trust and understanding through shared activities. Following the insightful guides on crafting tunnels, weave poles, hurdles, and more, the DIY approach accommodates a range of abilities, allowing for continual adaptation as your dog masters each challenge. Adjustments can be made so that novices and experienced pets find value and enjoyment in the course.

